
By Chris Keller|Aug 15, 2023

We’ve recently heard from people who have been embarrassed when they gave their iPhone to someone to swipe through some innocuous photos of a vacation, only to have the person swipe too far and end up at some NSFW (not safe for work) images. Ouch.
Embarrassment might be low on the list of problems such photos could cause. It’s not hard to imagine a male supervisor innocently sharing photos with a female employee but ending up embroiled in a sexual harassment situation if she were to stumble across the kinds of NSFW photos that regularly land politicians in hot water.
It’s safest to avoid taking NSFW photos to start, especially if the iPhone is a work-managed device. If that’s unrealistic, we recommend deleting any NSFW images from the iPhone as soon as feasible. A third option may be the best solution in the modern world—the Hidden album Apple provides in the Photos app on the iPhone, iPad, and Mac. On the iPhone and iPad, you’ll find it with other albums in the Utilities collection. On the Mac, it appears in the sidebar under Photos. (If you don’t see it, you may have hidden it—we explain how to unhide it below.)
![]()
There are four essential things to know about the Hidden album:
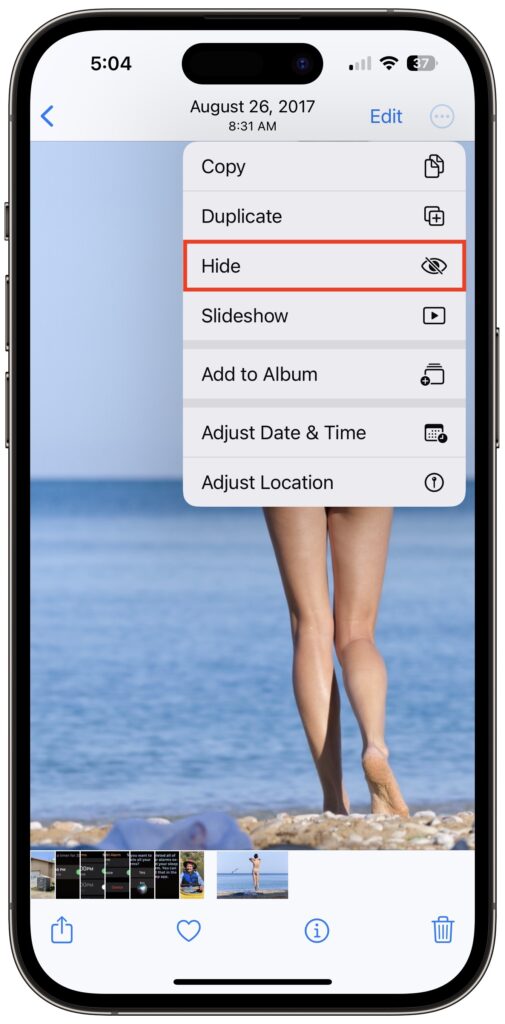
- You don’t add photos to the Hidden album by dragging or using an Add to Album option. Instead, you choose Hide from a contextual menu. On the iPhone and iPad, touch and hold a photo (or a set of selected photos) and tap Hide in the menu that appears. Or tap the ••• button and choose Hide. On the Mac, select one or more photos, Control-click them, and choose Hide X Photos. To remove a photo from the Hidden album, use the same approach with the Unhide command.
- Unlike regular albums, whose photos also appear in All Photos, photos in the Hidden album won’t appear anywhere else, including in searches. That’s the point of the feature.
- You can hide or show the Hidden album on each of your devices independently. On the iPhone and iPad, control whether it shows up in the Utilities album collection with Settings > Photos > Show Hidden Album. In the Photos app on the Mac, control whether it appears in the sidebar using View > Show/Hide Hidden Photo Album. Obviously, if you’ve hidden the Hidden album, you must show it to look inside.
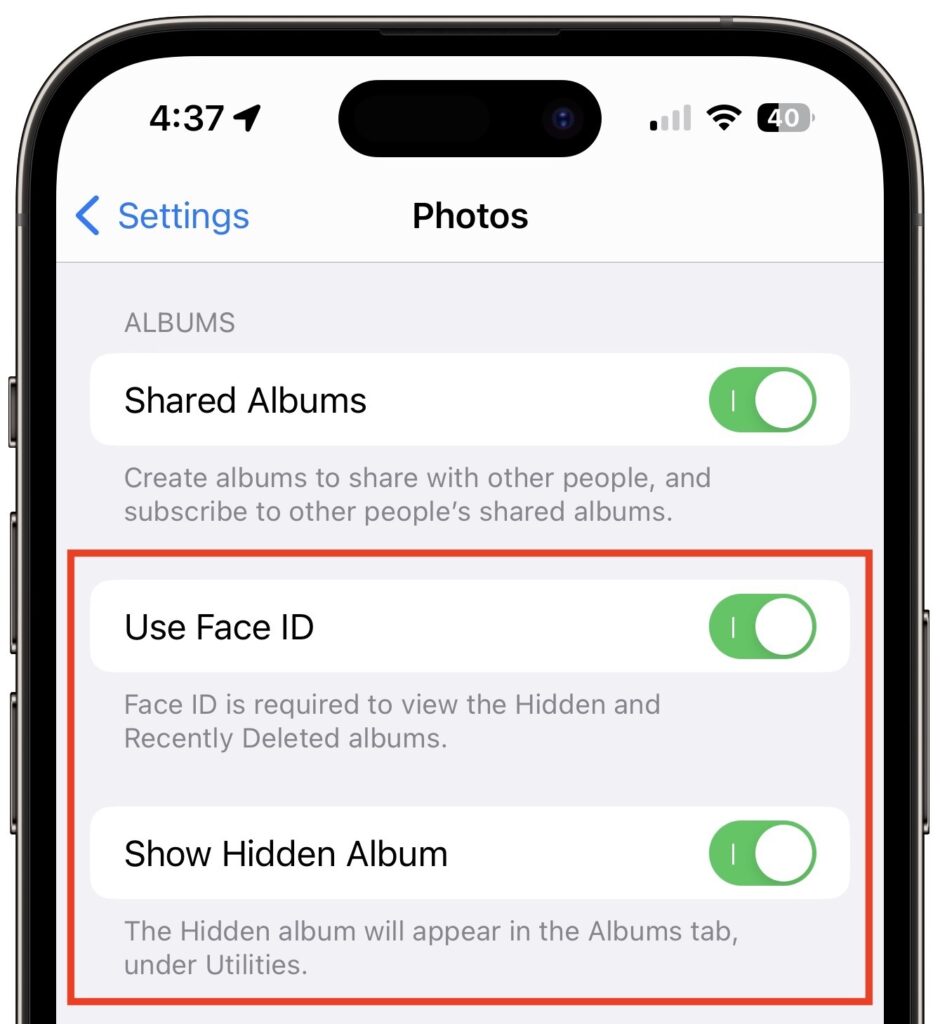
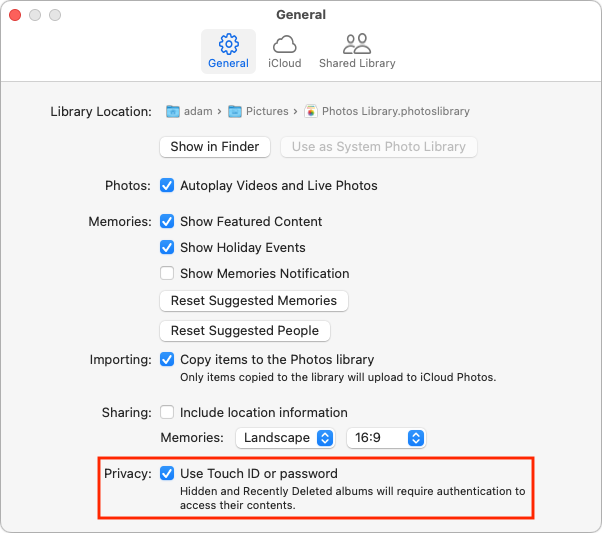
- If you use the Hidden album, we strongly recommend protecting it (and the Recently Deleted album) with Face ID or Touch ID so only those with biometric access to your device can view it. On the iPhone and iPad, enable Settings > Photos > Use Face/Touch ID (see above). On the Mac, go to Photos > Settings > General and select “Use Touch ID or password.” Again, these settings are per-device, so what you set on the iPhone won’t automatically carry over to other devices. But really, turn it on everywhere.
Overall, the Hidden album is a welcome feature, and if you have any photos that could embarrass you if someone were to stumble across them, put them in the Hidden album and turn on the biometric protection.
(Featured image based on an original by iStock.com/AlexZabusik)
Social Media: Although it’s safest to keep all NSFW images off your iPhone entirely, if you have photos that could be embarrassing or legally troublesome if the wrong person were to stumble across them, protect them using the Hidden album in Photos.