

In 2013, Apple added Touch ID to the Home button of the iPhone 5S. Taking advantage of the uniqueness of fingerprints, Touch ID combines the Home button press to wake up the iPhone with a fingerprint scan to authenticate the user. But in 2017, Apple introduced the iPhone X with Face ID, which relies on cameras and sensors at the top of the screen to authenticate the user via facial recognition. Since then, Apple has slowly been phasing out Touch ID in the iPhone line, with only the third-generation iPhone SE still supporting it. (Only the iPad Pro models have Face ID; other iPads have Touch ID in the Home button or the top button.)
We’re not here to dub one better than the other, but many people find themselves needing to upgrade from an older iPhone with Touch ID to a newer one with Face ID. If you’re trying to switch between Touch ID and Face ID, we have some tips to help.
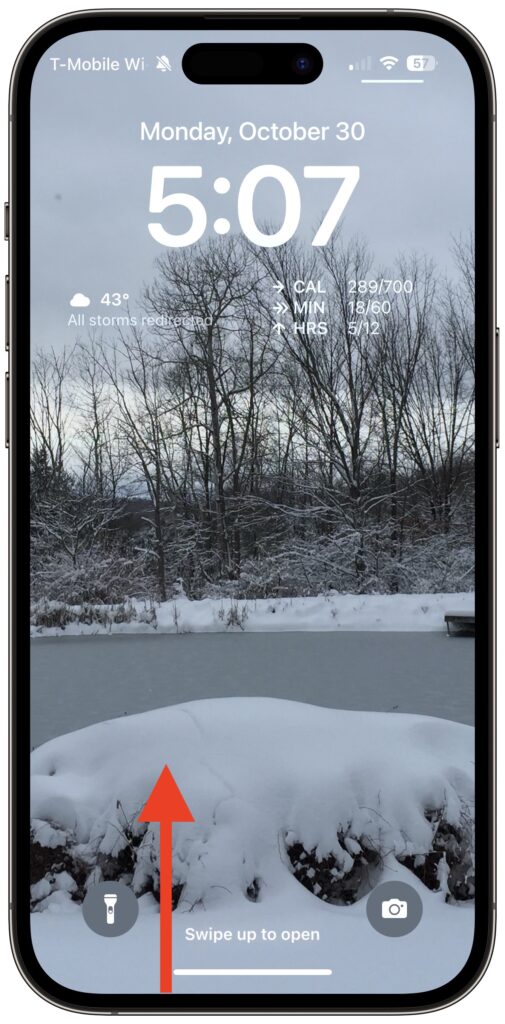
Unlock the iPhone
Once the iPhone is awake (the screen is lit up), you unlock an iPhone with Touch ID by pressing the Home button. On an iPhone with Face ID, you swipe up from the bottom of the Lock Screen—a bar reminds you where to start—while looking at the iPhone. Face ID is fast and accurate enough that you’ll notice that authentication is happening only if iOS asks to verify your passcode (which it also does with Touch ID).
Return to the Home Screen
When you’re using an app on an iPhone with Touch ID and want to return to the Home Screen, you press the Home button—logical! On an iPhone with Face ID, you repeat that swipe up from the bottom of the screen action you use to unlock the iPhone. You’ll get really good at it.
Switch between Apps
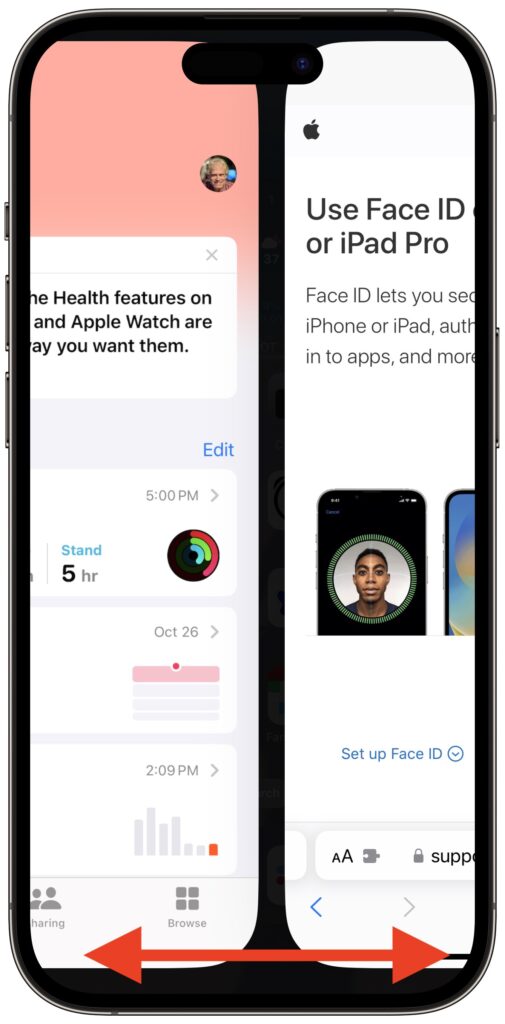
When it comes to switching between apps, iPhones with Face ID offer a unique shortcut. On an iPhone with Touch ID, you must quickly press the Home button twice and then swipe between apps in the App Switcher. Bringing up the App Switcher on an iPhone with Face ID requires swiping up from the bottom of the screen just slightly and then continuing the swipe to the right. But Face ID experts seldom do that. Instead, swipe right and left on the bar at the bottom of the screen to switch between apps—it’s far faster and easier, if hidden.
Activate Siri
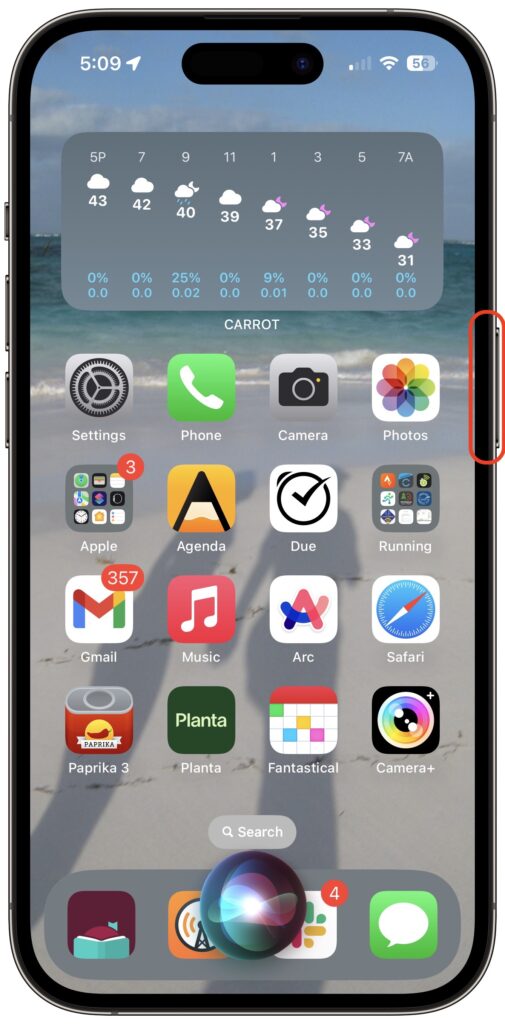
On an iPhone with Touch ID, holding the Home button activates Siri. On an iPhone with Face ID, press and hold the side button to activate Siri. Tomato, tomahto.
Open Control Center
When all we had were iPhones with Touch ID, Apple decided we’d open Control Center by swiping up from the bottom of the screen. Face ID relies on that gesture for unlocking and opening the App Switcher, so on iPhones with Face ID, you instead open Control Center by swiping down from the top right of the screen. Think of it as swiping down from the cellular, Wi-Fi, and battery status icons.
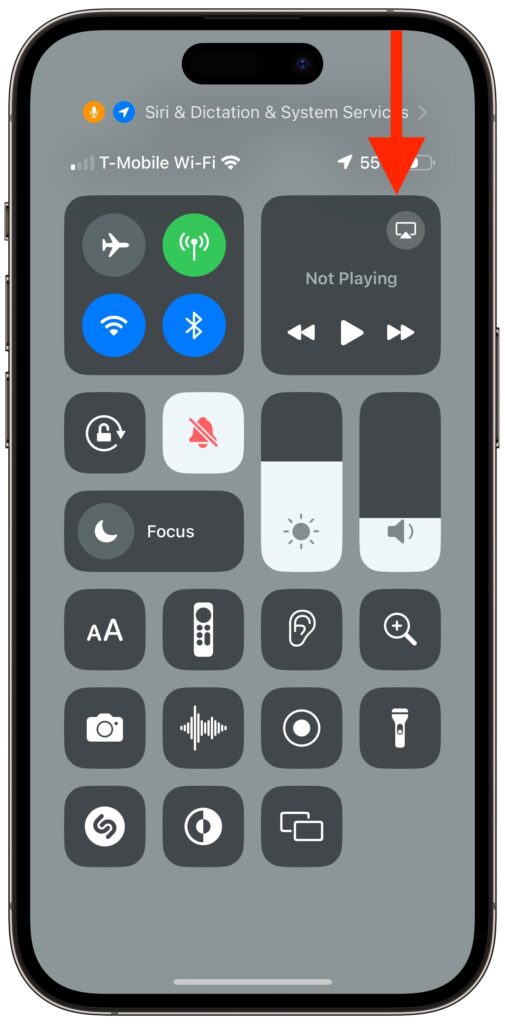
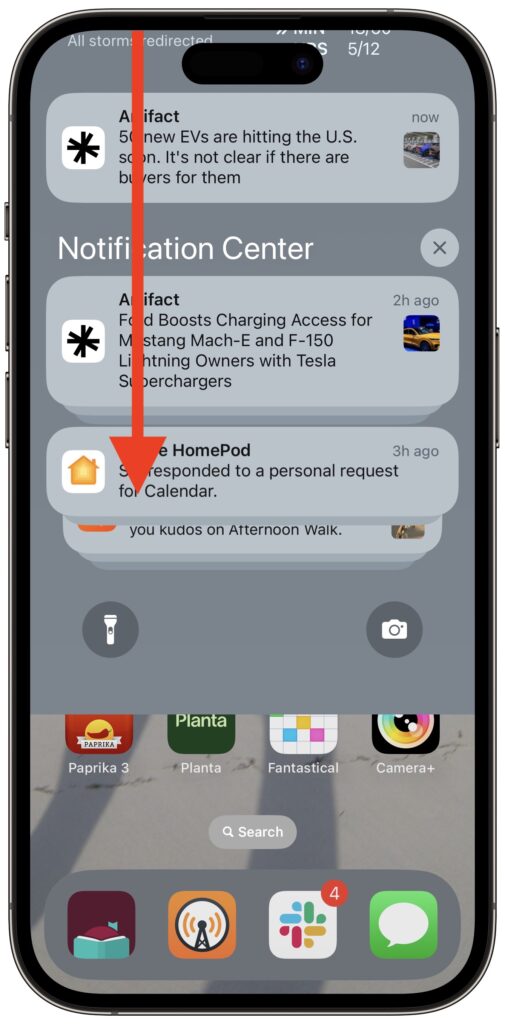
View Notifications
Because iPhones with Touch ID use a swipe up from the bottom for Control Center, they can devote a swipe down from the top of the screen to displaying the Lock Screen with notifications. The same gesture works on an iPhone with Face ID, but you must start from the left side of the screen.
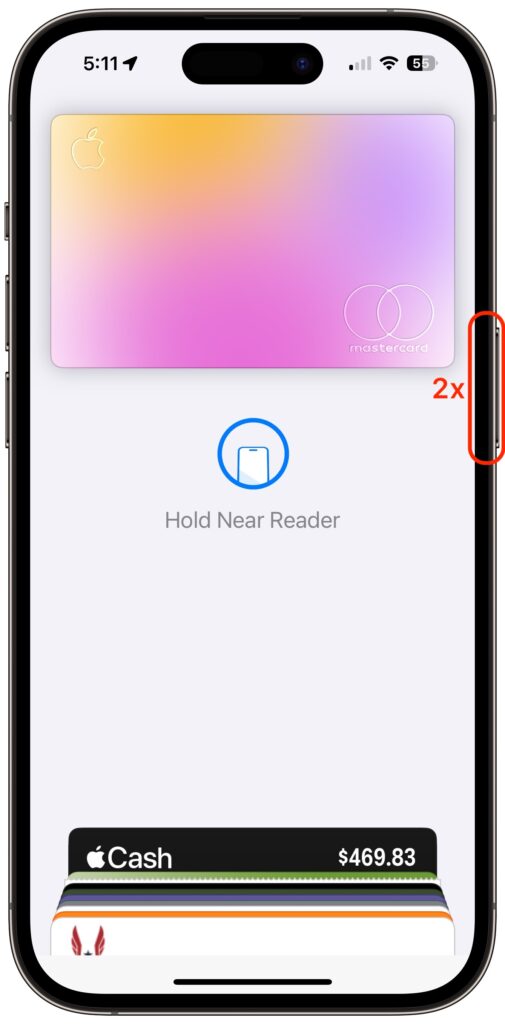
Use Apple Pay
Paying for a purchase with Apple Pay requires that you authenticate, which means placing your finger on the Home button—but not pressing it!—on an iPhone with Touch ID. Getting the hang of the touch-but-don’t-press action can take some time, but once you have it, you may even have developed a habit of not looking at your iPhone to authenticate Apple Pay. In contrast, with an iPhone with Face ID, you must look at the screen when prompted so the Face ID sensors can confirm you’re making the purchase. Honestly, neither is as easy as double-pressing the side button on an Apple Watch.
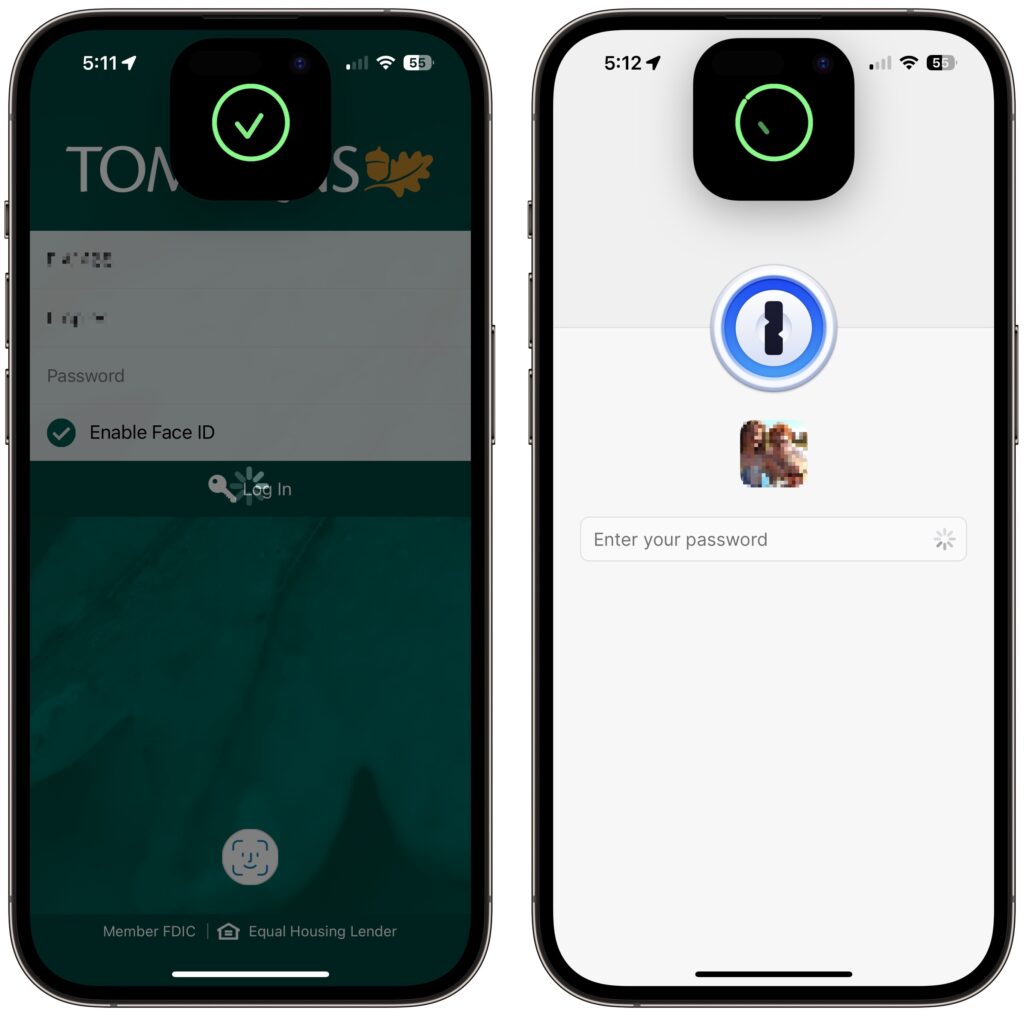
Authenticate in Apps
Beyond Apple Pay, plenty of apps from the App Store, like password managers and banking apps, tie into biometric authentication so you don’t have to type lengthy passwords. As you’d expect, if you previously authenticated by touching the Home button, doing so on an iPhone with Face ID requires looking at the iPhone screen. That’s nearly always what you do anyway, so it’s even easier than touching the Home button.
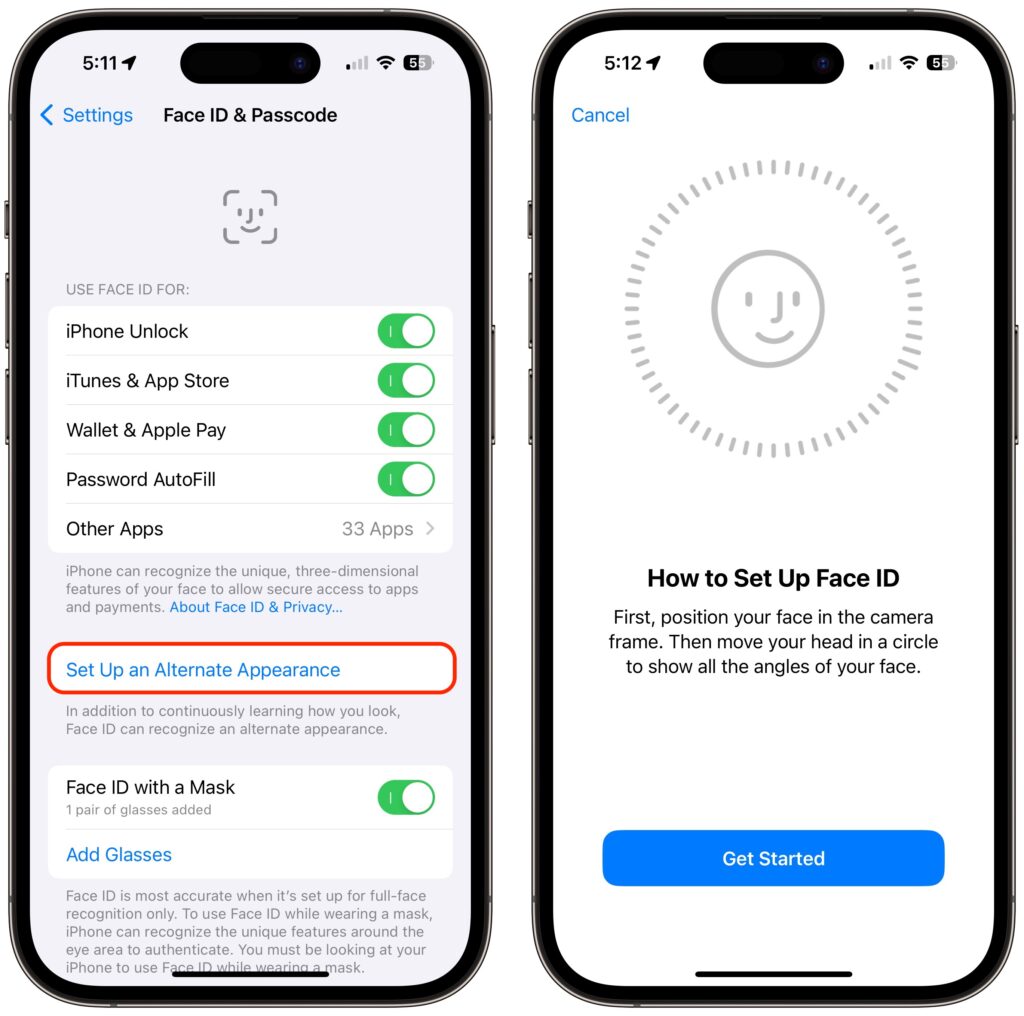
Register Alternate Appearances
With Touch ID, you can register up to five fingers, which lets you use several of your own and let a trusted spouse or family member authenticate using Touch ID as well. We tend to have more fingers than faces, though, so with Face ID, Apple allows only a single alternate appearance. That shouldn’t be too limiting, but if everyone in your family had a Touch ID finger, sorry, you’ll have to pick a favorite.
(Featured image by Apple)
Social Media: Are you switching from an iPhone with Touch ID to one with Face ID? The challenge of learning new things can intimidate some people, but we have a list of what you’ll need to know. (And some of the changes are better!)